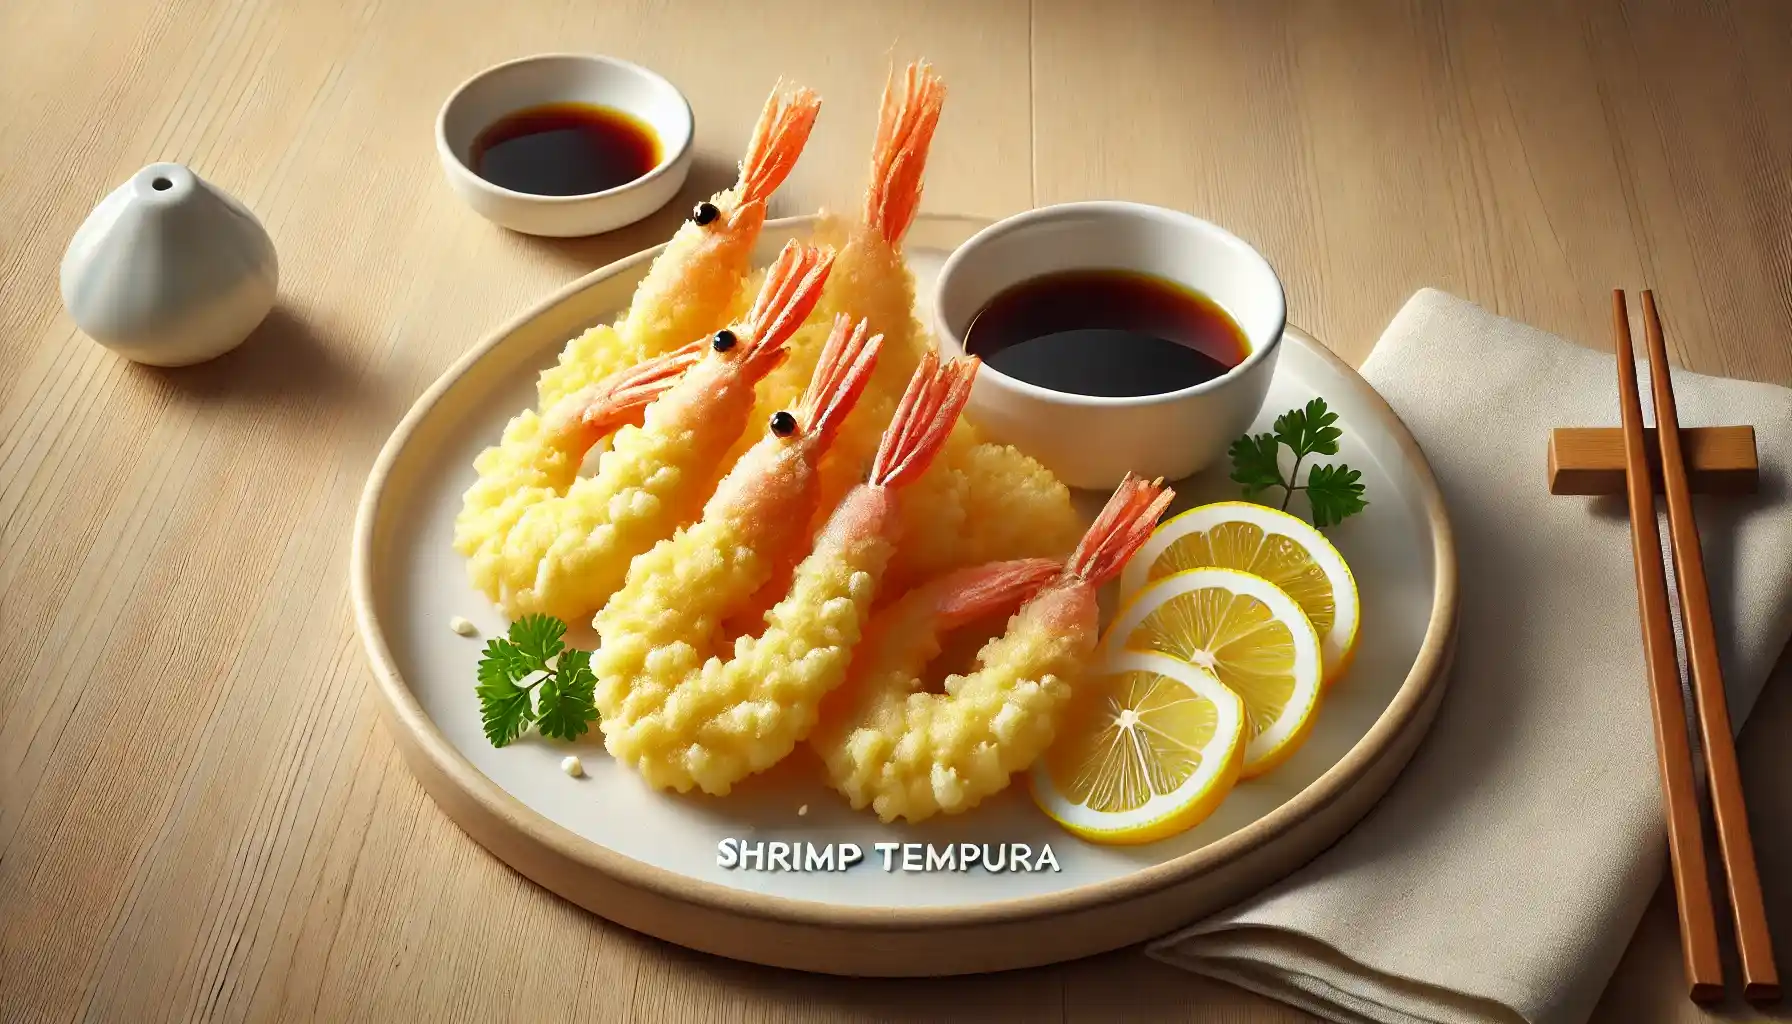
Tempura is a Japanese classic known for its light, airy, and incredibly crispy texture. Shrimp Tempura is especially popular, featuring succulent shrimp coated in a delicate tempura batter, fried until golden brown. This dish is perfect as an appetizer, part of a sushi platter, or served over rice or noodles for a satisfying meal.
This Shrimp Tempura Recipe provides easy steps to achieve that perfect, restaurant-quality tempura at home. With a few simple ingredients and the right technique, you’ll be able to make shrimp tempura that’s crispy on the outside and tender on the inside.
Why Shrimp Tempura?
Shrimp tempura stands out for its combination of juicy shrimp and a crisp, non-greasy coating. Traditional Japanese tempura is unique because it uses a cold, airy batter, which results in a delicate and almost transparent crust. This method makes shrimp tempura a versatile dish that’s both light and satisfying.
Ingredients Needed for Shrimp Tempura
Before we dive into the step-by-step instructions, let’s look at the essential ingredients for making shrimp tempura:
For the Shrimp Tempura:
- Large Shrimp: 12 pieces, peeled and deveined, with tails on
- Salt: For seasoning
- Tempura Batter Mix:
- All-Purpose Flour: 1 cup
- Cornstarch: ¼ cup
- Egg: 1 large
- Ice-Cold Sparkling Water: 1 cup (or as needed)
- Vegetable Oil: For deep-frying
For the Dipping Sauce:
- Soy Sauce: 3 tablespoons
- Mirin: 2 tablespoons
- Dashi Stock or Water: ¼ cup
- Grated Daikon Radish: 1 tablespoon (optional, for garnish)
Step-by-Step Guide to Making Shrimp Tempura
- Prepare the Shrimp
- Rinse the shrimp under cold water and pat dry with paper towels. Make small cuts along the belly of each shrimp to keep them from curling while frying. Season lightly with salt. Tip: Leave the tails on the shrimp for easier handling and an authentic presentation.
- Prepare the Tempura Batter
- In a mixing bowl, combine the flour and cornstarch. In a separate bowl, lightly beat the egg.
- Gradually add the beaten egg and ice-cold sparkling water to the flour mixture, stirring gently. The batter should be slightly lumpy, as over-mixing can lead to a dense, heavy coating. Tip: Use ice-cold sparkling water to keep the batter cold, which helps achieve a crispier texture.
- Heat the Oil
- In a deep pan or wok, heat vegetable oil to 350°F (175°C). The oil should be hot enough to cook the tempura quickly, creating a light and crispy exterior. Tip: Test the oil by dropping a small bit of batter into it. If it floats and sizzles immediately, the oil is ready.
- Dip and Fry the Shrimp
- Hold each shrimp by the tail, dip it into the batter, allowing any excess to drip off, and carefully place it in the hot oil. Fry a few shrimp at a time, being careful not to overcrowd the pan, as this can lower the oil temperature.
- Fry until the batter is golden and crispy, about 2-3 minutes. Remove the shrimp with a slotted spoon and drain on paper towels.
- Prepare the Dipping Sauce
- In a small saucepan, combine soy sauce, mirin, and dashi stock (or water). Heat gently until warm, then pour into a small serving bowl. Garnish with grated daikon radish if desired.
- Serve Hot
- Arrange the shrimp tempura on a serving plate and serve immediately with the dipping sauce on the side.
Common Mistakes to Avoid When Making Shrimp Tempura
While tempura is relatively simple, there are a few mistakes that can impact the final dish:
- Over-mixing the Batter: The batter should be mixed gently and left slightly lumpy to ensure a light, airy coating.
- Using Warm Water: Always use ice-cold water to keep the batter as cold as possible, as this contributes to the crispiness.
- Crowding the Pan: Fry the shrimp in small batches to maintain a steady oil temperature, which prevents greasy and soggy tempura.
Variations of Shrimp Tempura
Once you’ve mastered the basic shrimp tempura, you can experiment with different flavors and variations:
- Spicy Shrimp Tempura: Add a dash of chili powder or a pinch of cayenne to the batter for a subtle kick.
- Coconut Shrimp Tempura: Mix shredded coconut into the batter for a tropical twist that pairs well with sweet dipping sauces.
- Shrimp and Vegetable Tempura: Include other vegetables like sweet potato, zucchini, or bell pepper slices alongside the shrimp for a more varied tempura platter.
Nutritional Benefits of Shrimp Tempura
Although tempura is fried, shrimp tempura offers some nutritional benefits:
- Good Source of Protein: Shrimp is high in lean protein, making it a filling choice for meals or appetizers.
- Low in Calories: Shrimp is relatively low in calories compared to other meats, offering a lighter option for fried dishes.
- Omega-3 Fatty Acids: Shrimp provides omega-3 fatty acids, which support heart health.
Tips for Storing and Reheating Shrimp Tempura
If you have leftovers, here’s how to store and reheat them while keeping the crispiness:
- Refrigerating: Let the shrimp tempura cool completely, then store in an airtight container for up to 2 days.
- Reheating: For the best results, reheat the tempura in an oven or air fryer at 350°F (175°C) for about 5 minutes to restore its crispiness. Avoid using the microwave, as it can make the tempura soggy.
Final Thoughts
Shrimp tempura is a timeless Japanese dish that brings together the delicate flavor of shrimp with a light, crispy coating. This Shrimp Tempura Recipe allows you to recreate the authentic taste and texture of Japanese tempura right at home, perfect for impressing guests or treating yourself to a flavorful snack.
So why not give it a try? With a few simple steps, you’ll be able to make shrimp tempura that’s every bit as delicious as what you’d find in a Japanese restaurant.


